Composition - Angles, Framing, Rule of Thirds and Image Depth - Hunting Photography Series - Part 4
Part 4 - Composition - Angles, Framing, Rule of Thirds and Image Depth - Hunting Photography Series
Now we’re getting into the good stuff. We’re starting to understand a good bit about lenses and how to use them through the last two parts to the series. Now we’re going to talk about composition, how and where we want to frame what is in our image. We will go into giving your image depth as well. This will make your image more robust and interesting and less flat and boring.
Why Does it Matter?
We as photographers are here to tell a story through our images. I’m sure you’ve heard someone spin a tale that had you leaning forward in your seat, had you captivated and hanging on the every word, just dying to see where the tale would take them next. I’m also sure you’ve listen to a five year old tell you a story about his day. The amount of “ummms”, nose pickings and jumble of incoherent and unintelligible words may have had you looking for the closest exit to save.
So we can probably agree that not all stories are created equal. And I’d imagine you’re reading through this photo series because you don’t want to be that five year old babbling words, but rather the Hemingway of the photo world.
So just like a great storyteller we want to infuse our images with energy, interest and tension. We don’t have a lot of time to do this. While a storyteller may have a captive audience around the campfire, our audience is usually scrolling through hundreds of pictures on their Instagram feed, only stopping when something stands out and catches their eye.
We live in a world where grabbing someones attention is a near impossible event. There is just too much competition and too many people trying to get in front of eyeballs.
Being different and being better than the norm is what is going to grab attention. This is why different angles, framing, using image depth and implementing the rule of thirds is so important.
Now we know why. Let’s get after the how.
Angles
When you look at a typical family photo you should notice they can all look the same. Just swap out the people, add in new family members, it doesn’t matter. They all feel the same. Why is that? Usually all the members are lined up and stretch from one side of the frame to the other. For a really artsy feel they may add the family dog in the front of the line. Straight on, everyone facing the camera.
What could we do better? How about adding a new camera angle. Instead of a straight on shot, how about getting closer to one side and shooting down the line. Create a diagonal. Give the shot some depth. Or add in some really interesting elements. What is going on around you? Is there a cool backdrop you could use that describes your family? How about some props to help tell the story?

I took our family photo in grouse country because we hunt as a family. We were wearing our hunting clothes and I had my double barrel over my shoulder to help tell our story.
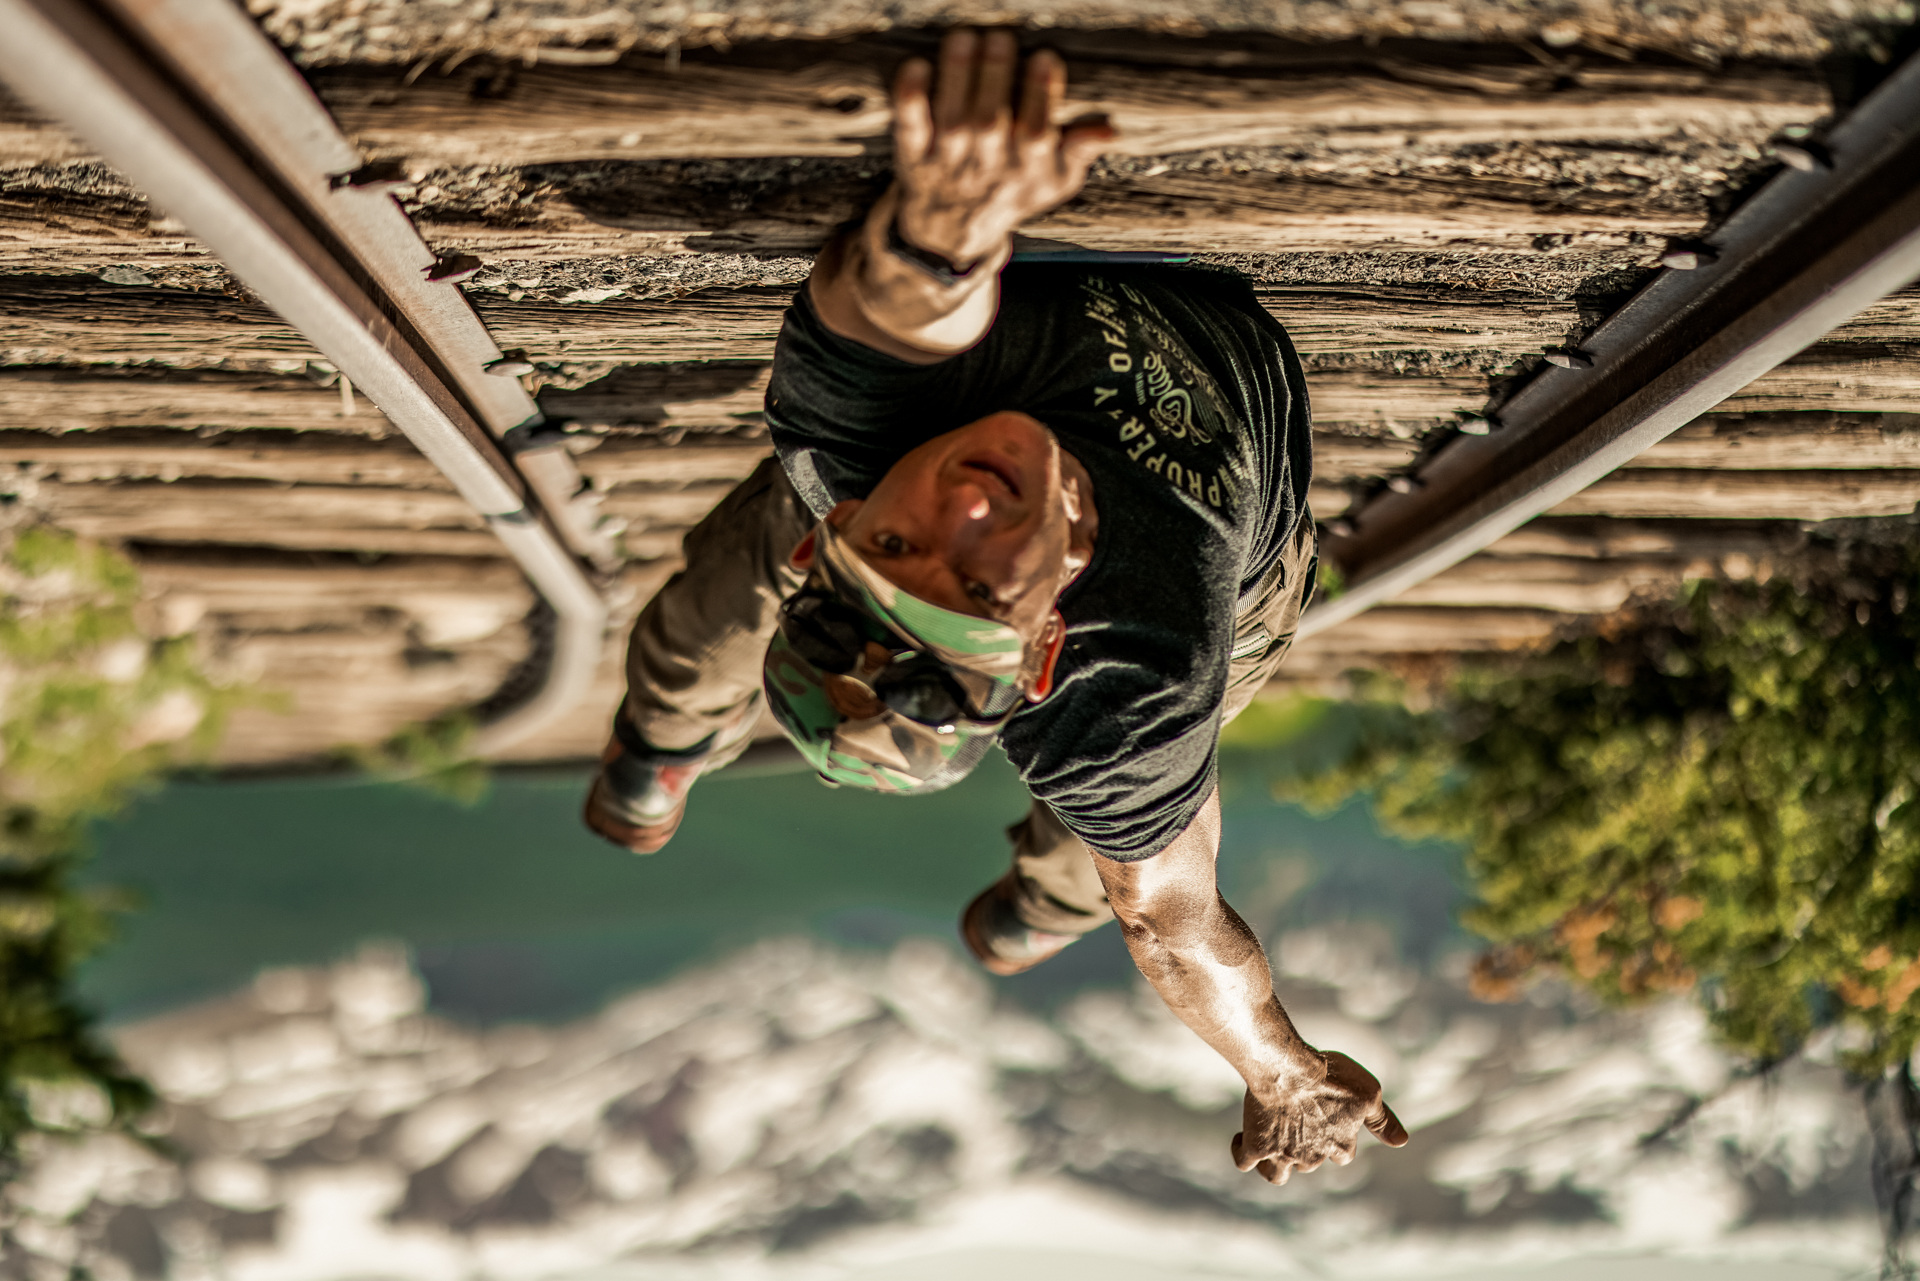
I once heard a photographer say, “Never take a picture standing as you normally would stand.” I hate to say never, but I’d say he’s right 99% of the time.
Don’t be afraid to bend those knees. Different camera angles will create more interesting compositions. Stop standing and pressing the shutter button!
If we are going to captivate our audience we need to start showing them a fresh way of looking at things. If we constantly shoot from our regular standing position we are only showing them what they see everyday. We need to offer them a new perspective.

Here’s an angle we don’t see everyday. I got up above this whitetail hunter and shot down while looking for a spot to place his stand. Variety goes a long way in photography.
When shooting a picture of your son on his first hunt carrying his bolt action .22, looking for the nearest squirrel, get down to his eye level, don’t simply stand there and shoot down at him. If you do that his background will be a bunch of browning leaves on the ground and will tell nothing about what is going on that day.

Get down to eye level when taking photos of the little guys.
Angles that angle up and ones that angle down say something very different and very powerful. If you have the camera on the ground pointing up at your subject it gives the subject the feeling of being in power. The opposite holds true if you shoot down on the subject. The viewer will have the power in this situation. Use these angles to help you tell the story of the image in a very simple way.
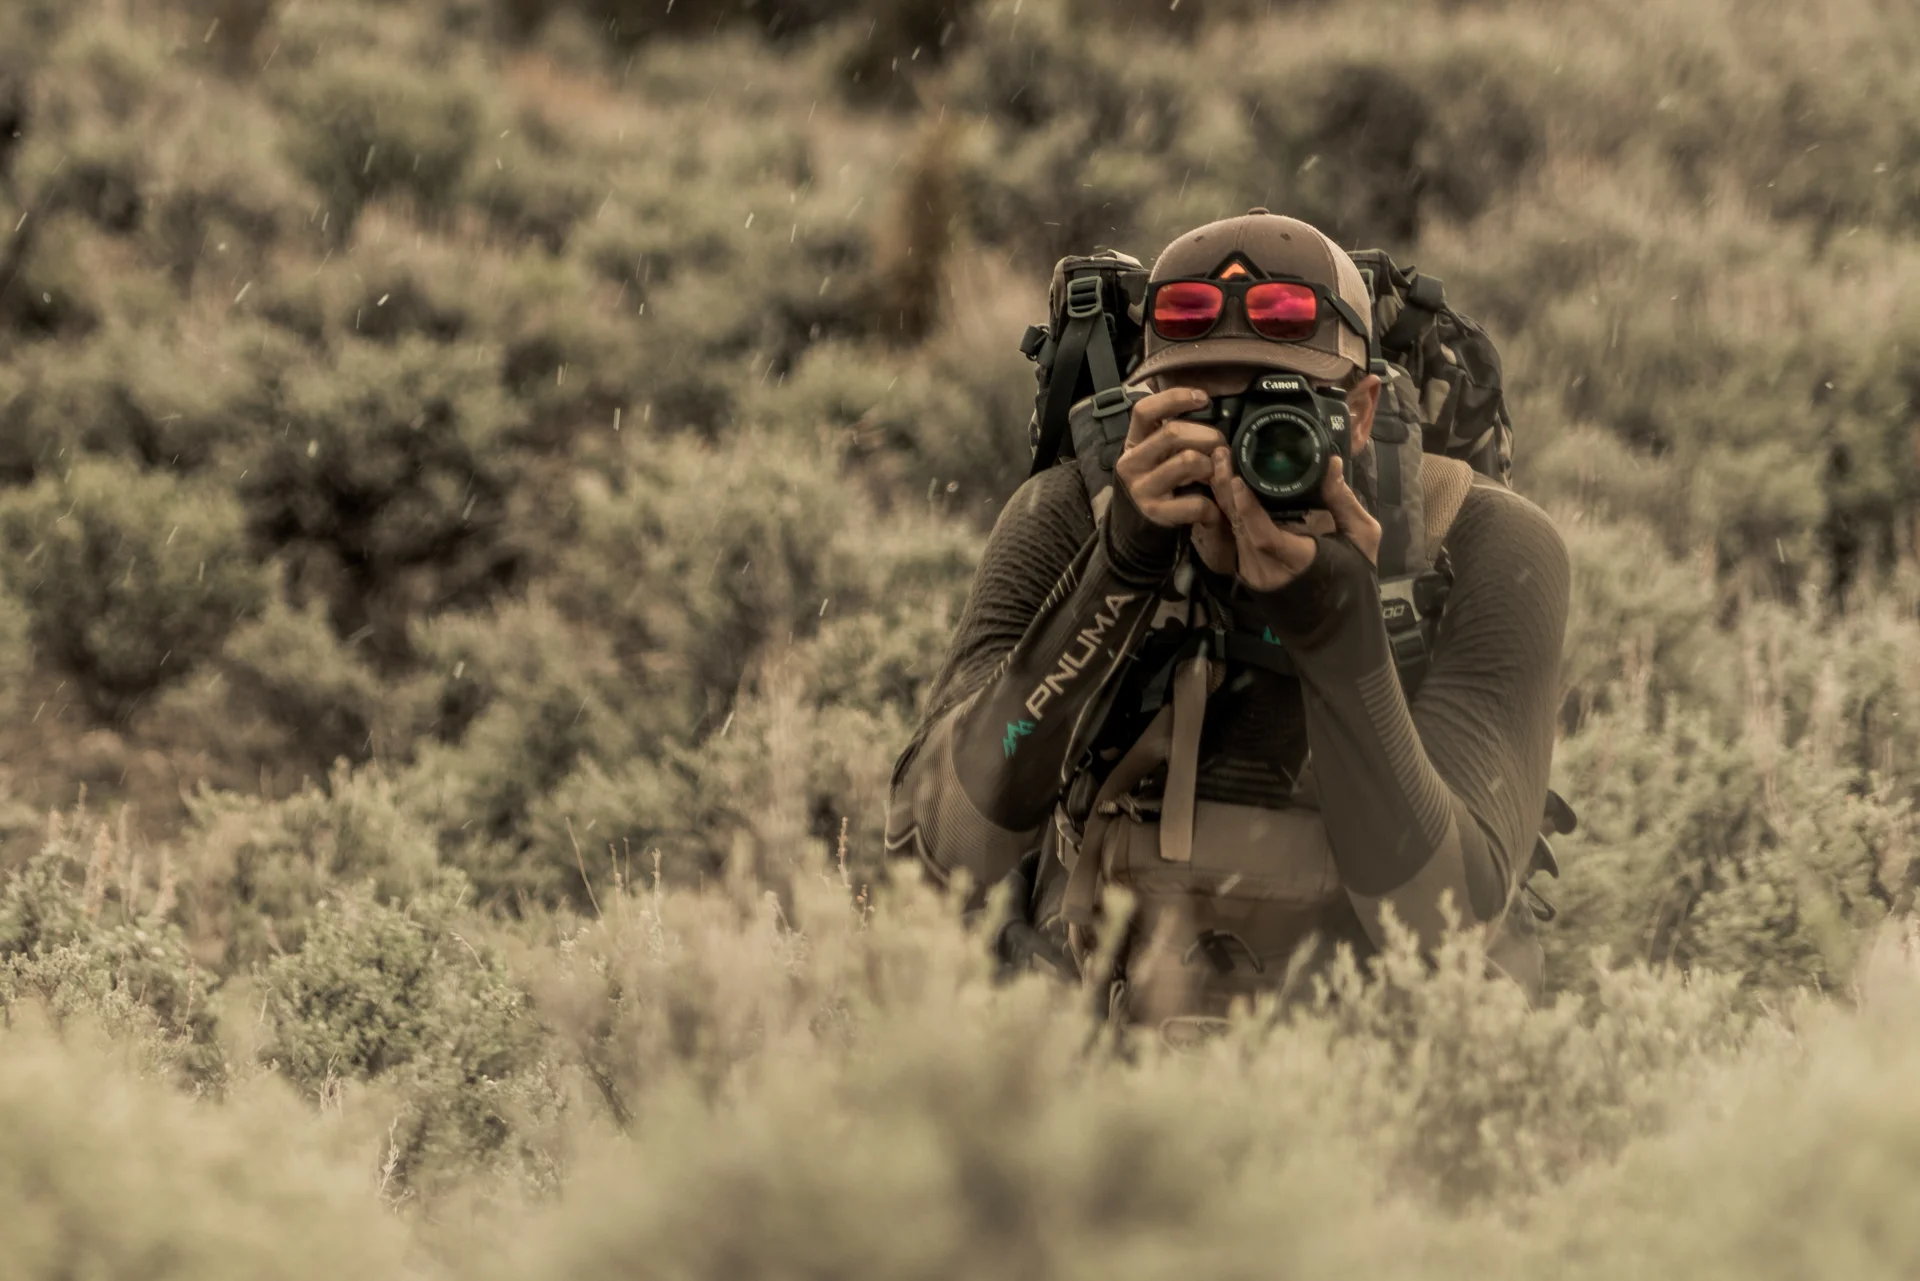
The use of leading lines in your images is another great way to force the viewers eyes to go where you want them too. Find natural lines in the image and have your subject placed at the end of them. When viewing the image, your eyes will naturally look down these lines and end on your subject.

Our eye naturally follows the center pivot irrigation line to the hunter above.
Finding diagonals in the scene is a great way of adding interesting elements. Use them and avoid the straight on flat looking shots.
Framing Your Subject
There’s a reason we put pictures in frames, they look good that way. What if we could frame our subjects within the image itself? Well we can!!
We can use elements around us to literally frame the shot. Now I’m not saying that it will be a perfect rectangle. It may only have one or two sides, but using something to help put the subject in a frame will help the viewer’s eye to go where you want it too.
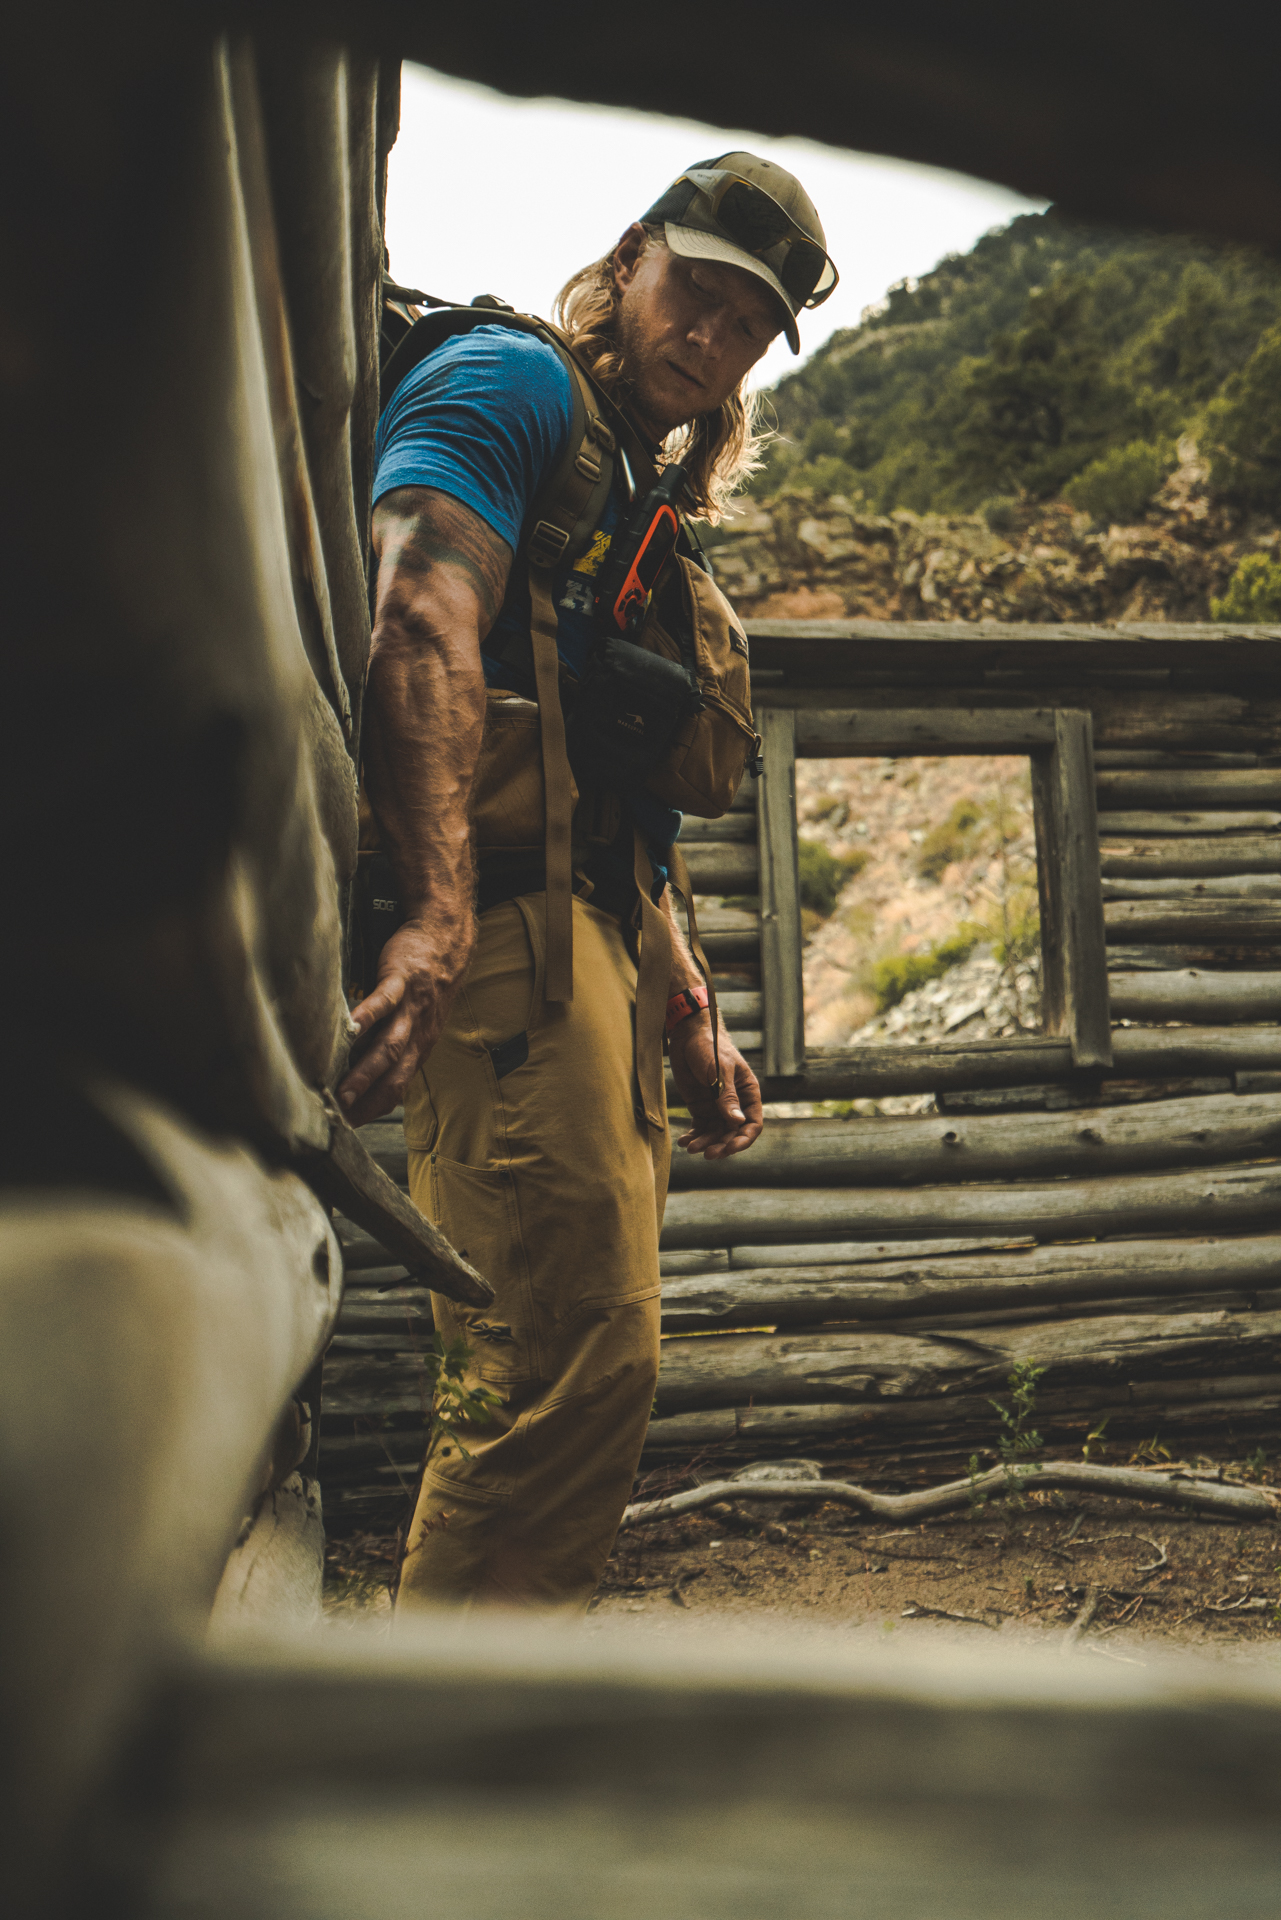
Using a window is a perfect way to frame a shot.
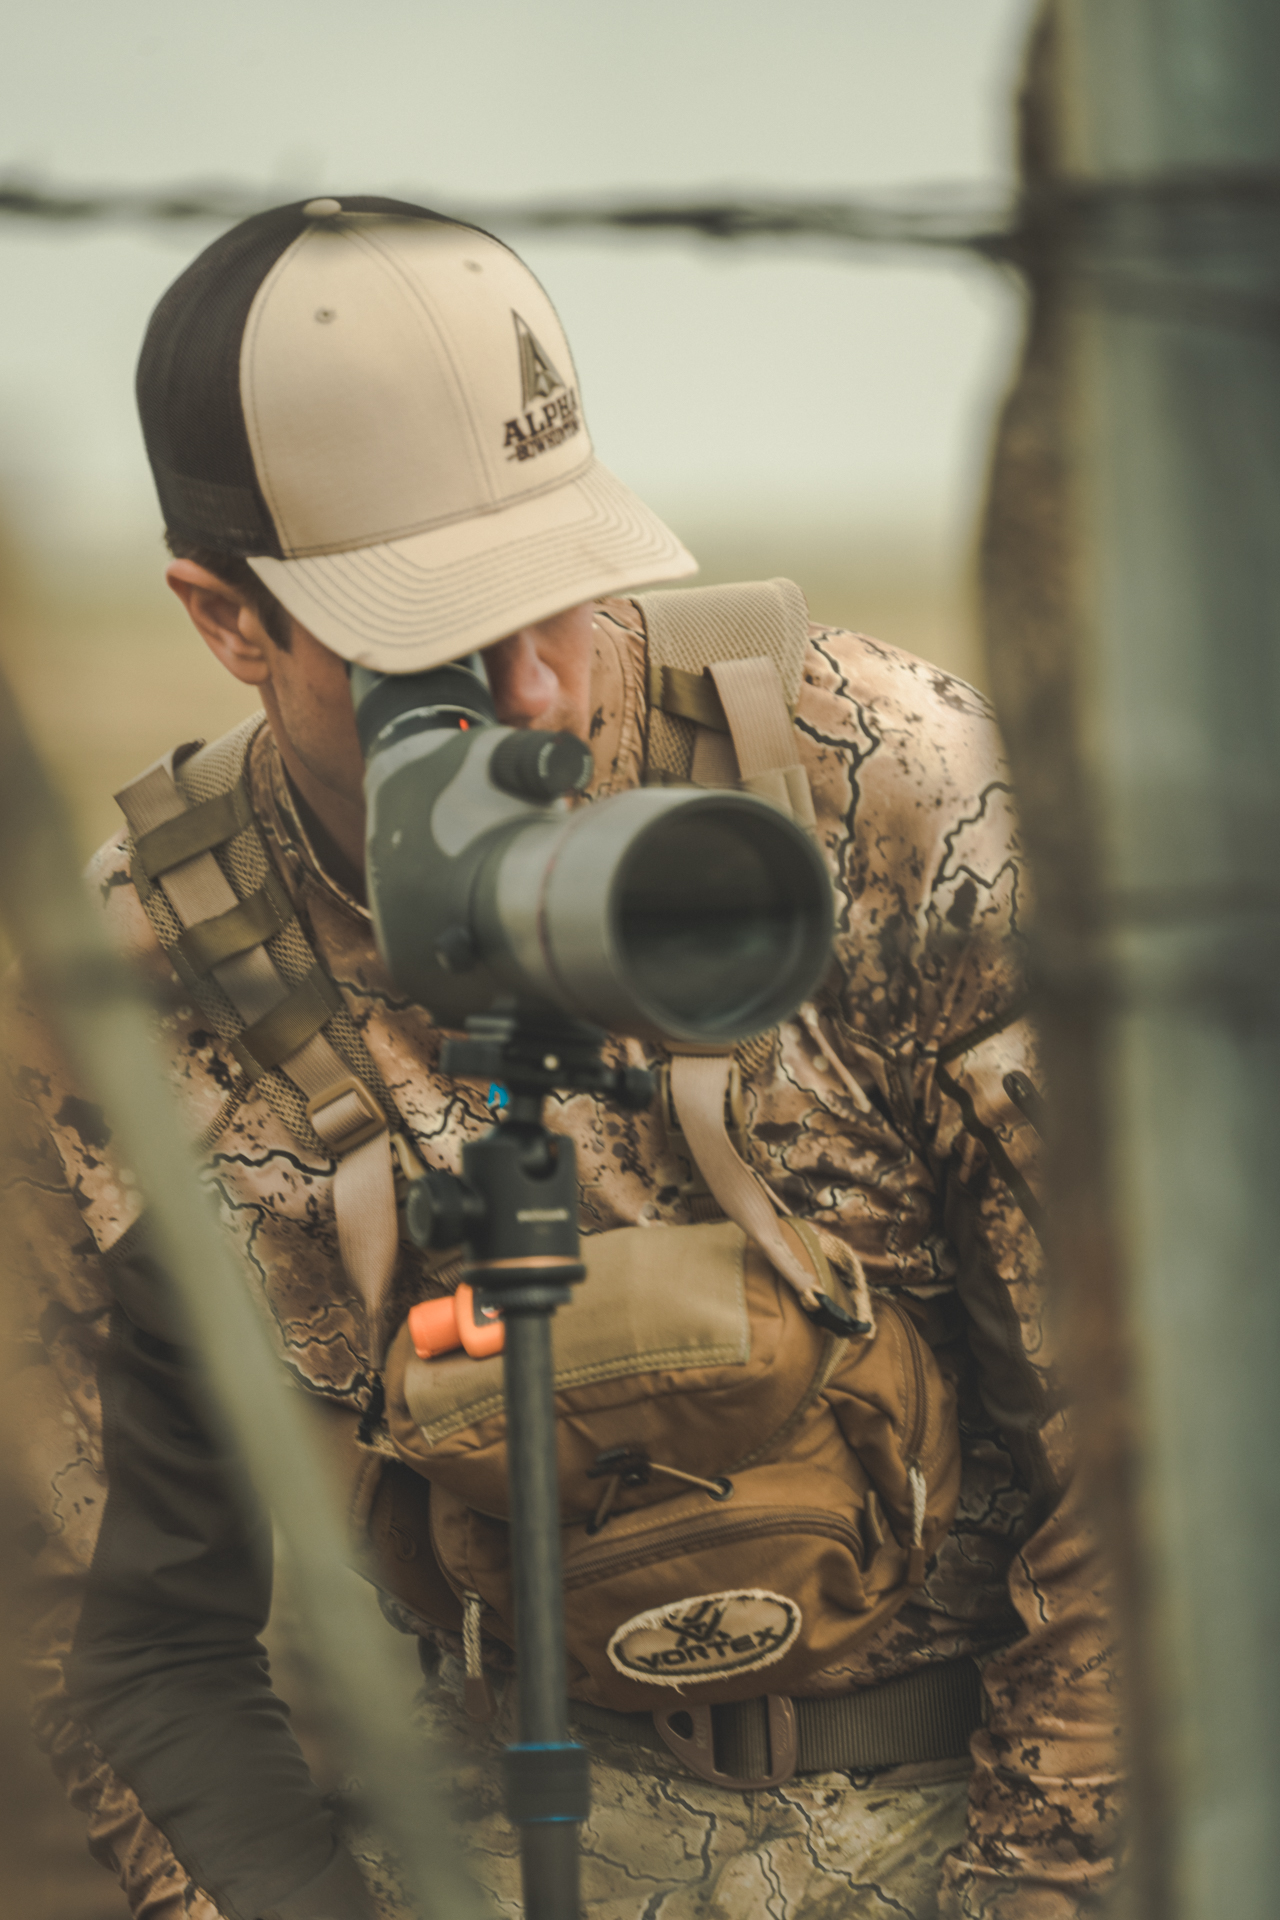
Fence posts also work great to frame your subjects.
Rule of Thirds
This rule was developed back in the late 1700’s and the world has been a better place for it since. Essentially it says that we divide up an image into nine equal parts with two equally spaced horizontal lines and two equally spaced vertical lines.

The horizon line was placed in the lower third (roughly) and our subject’s head in the upper right third for this composition.
Now we try to put the important parts of the image at the juncture of these thirds or if they’re long like a horizon line, running along the third.
Typically a subjects eyes will fall into one of the two top junctures of where the thirds meet. Horizon lines will be along the bottom third.
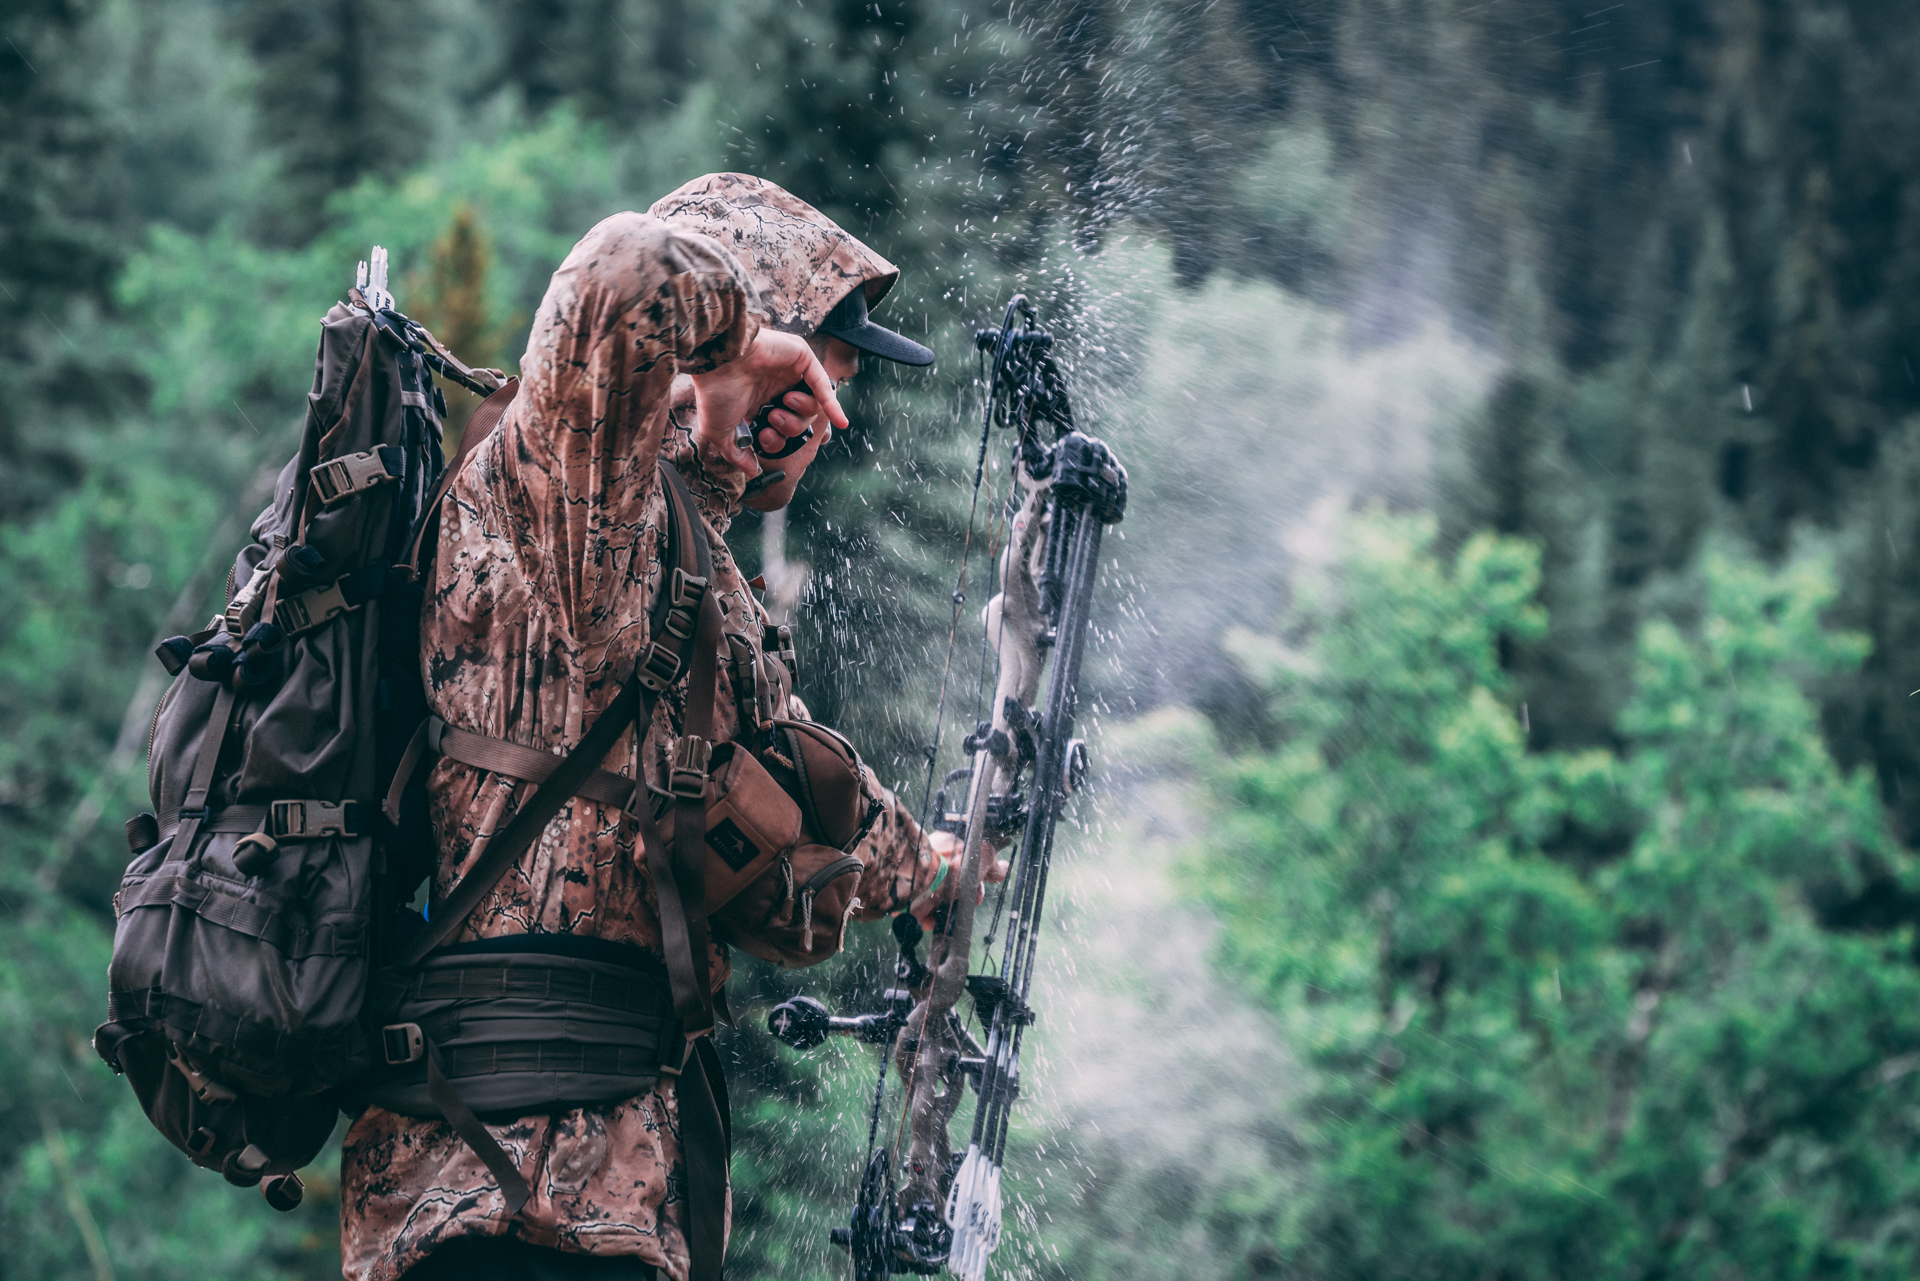
Image Depth
With image depth, we are attempting to take a 2D scene and make it as 3D as possible. We give it a foreground, the area where the subject is and the background.
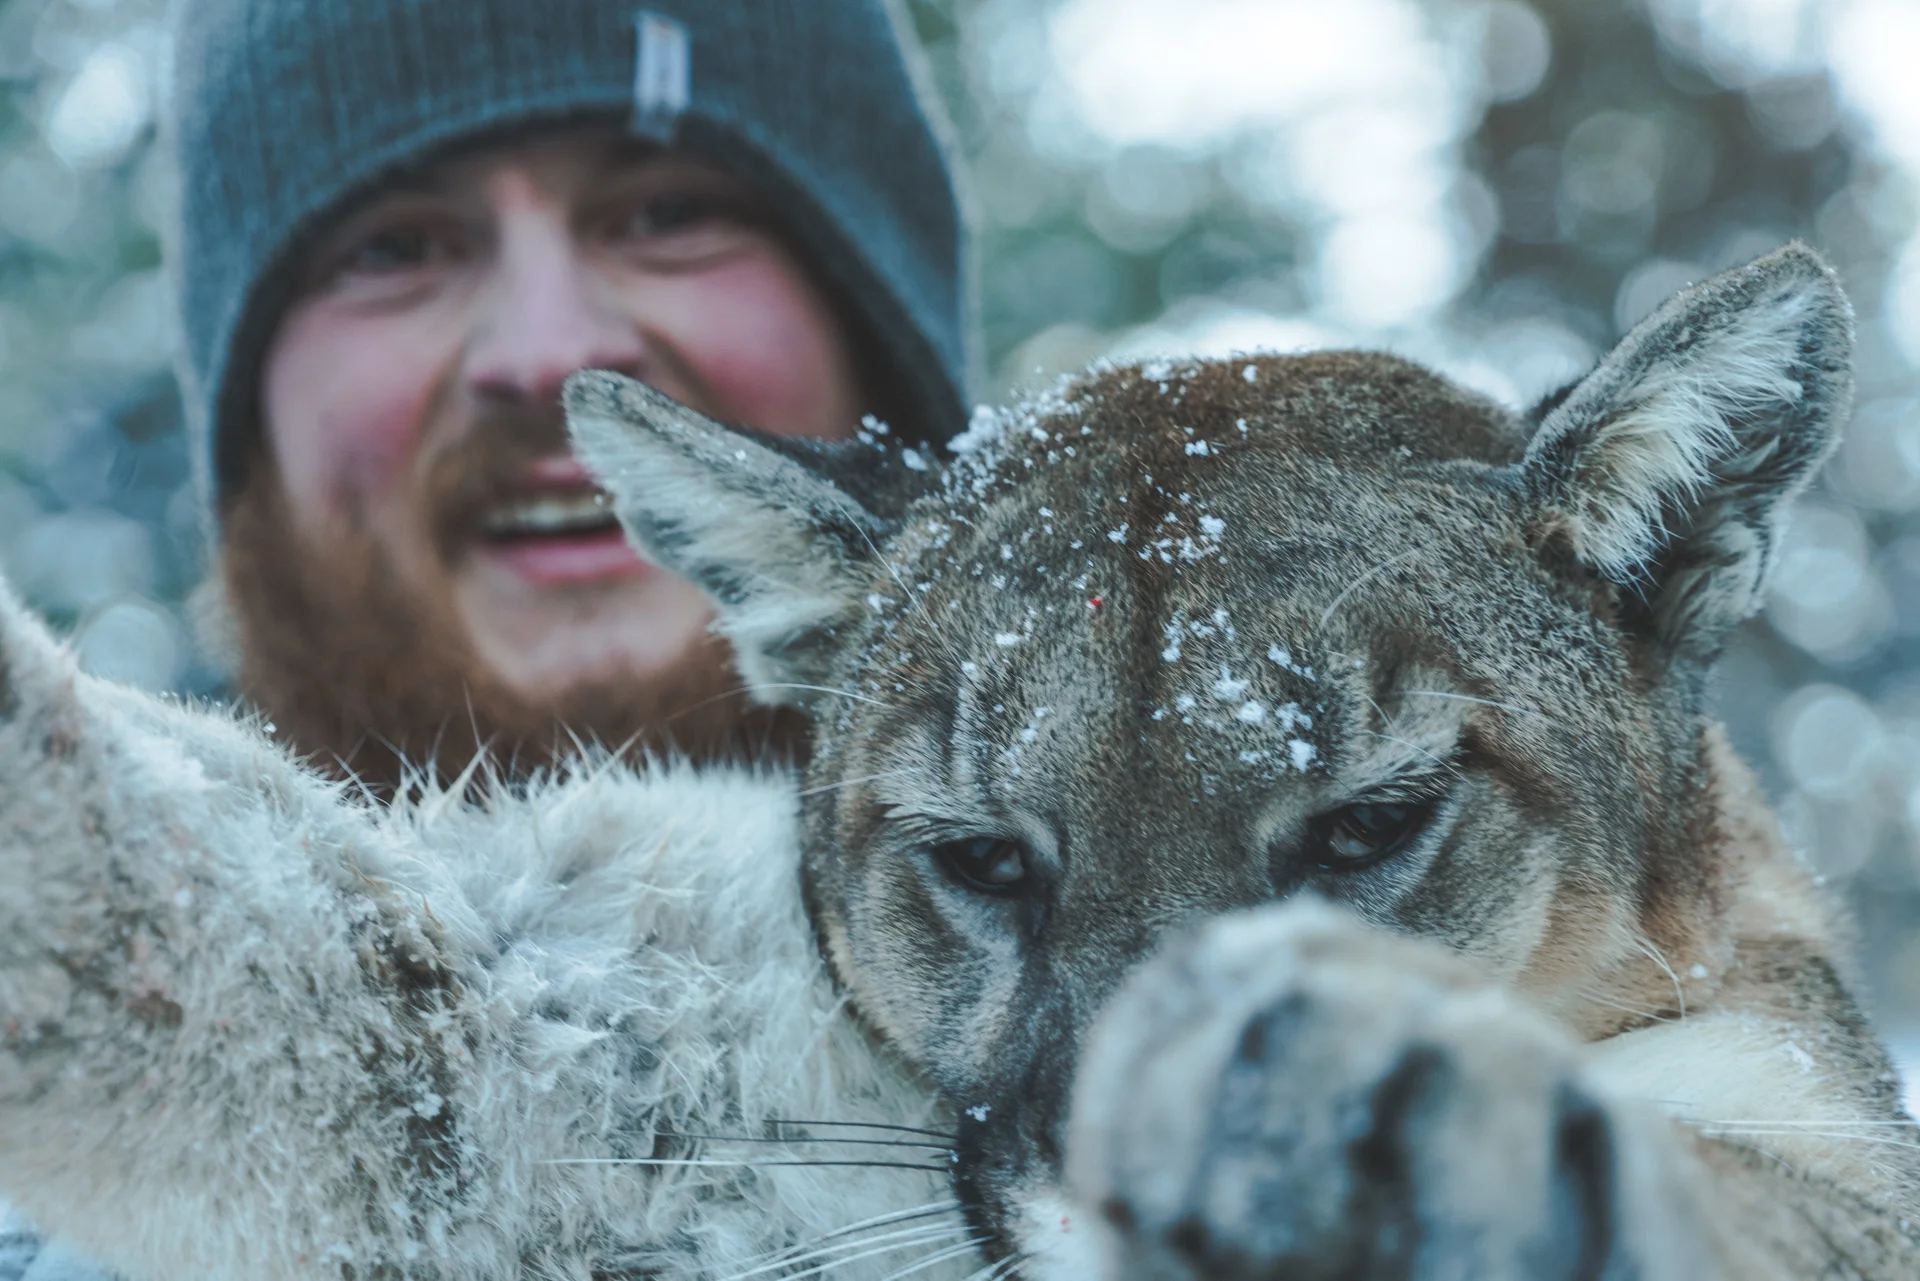
Notice the paw in the foreground that is out of focus. The subject, the lion, is in focus and the hunter which is the secondary subject is just our of focus. Finally the background is completely out of focus but gives a nice textural element for an appealing look.
Image depth has a lot to do with depth of field. We covered that in a previous article so I won’t bore you with it again here.
Typically we won’t want everything in focus when an image has a lot of depth. The foreground element will be out of focus while the subject is in focus and again the background out of focus. If you have everything in the scene totally in focus the viewer’s eye won’t know where you want it to go.
The background and subject are a given in a photo. Creating some separation between the two is important as to not have the subject blend in with the background.
A foreground element can be anything in the scene and you can use it to frame the shot. Just make sure that it isn’t overbearing. I often will take a branch with some leaves and actually move that into the shot in order to add a foreground element.

I put a corn stalk in front of the lens to add some texture to the foreground. Then the long line of corn allowed for a gentle drop off of focus. You’ll notice there is an obvious foreground, subject and background in this image.
This should get you started in telling a story with your images. Try these different techniques out and I can guarantee you will see an instant improvement in your photos and less yawns from the friends you show them to.
Hit me up on Instagram at fredbohm and tag me on some of your pics. I’d love to see how you’re composing your shots!
Continue on to Part 5 - Shutter Speed and Motion Blur
// Fred Bohm